
A worn-out skin, a loose plug or a leaking seam doesn't have to mean the end of a favorite squishy. In many cases you can give it a new ball skin or reseal it at home with a soft TPR glue. This guide (with a video) walks you through how to do it, what TPR glue can and can't fix, and how to get a clean seal that still feels squishy.
What Is TPR Glue?
Most squishy stress balls and DIY ball skins are made from TPR (thermoplastic rubber), a soft, stretchy material. Many everyday glues dry hard, so the seal can crack when the squishy flexes. A TPR glue is made for this material and stays soft and flexible after curing, so it moves with the squishy instead of fighting it.
What TPR Glue Can and Can't Fix
Good for:
- Sealing the plug after you replace a worn-out ball skin
- A plug (stopper) that has loosened or is leaking
- Cracks or peeling along the sealed edge or seam
- Sealing a DIY squishy after you've filled your own ball skin
Not recommended for:
- Holes or tears on the thin outer surface of the ball. Glue on a thin, stretched surface usually doesn't hold, and trying to fix it can make the damaged area bigger.
What You'll Need
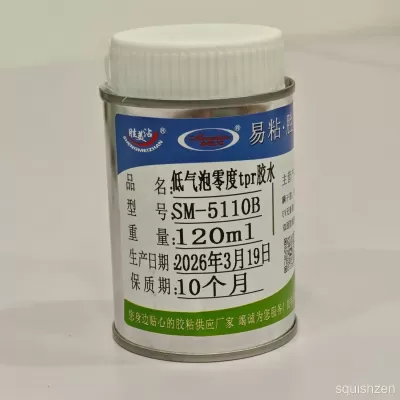
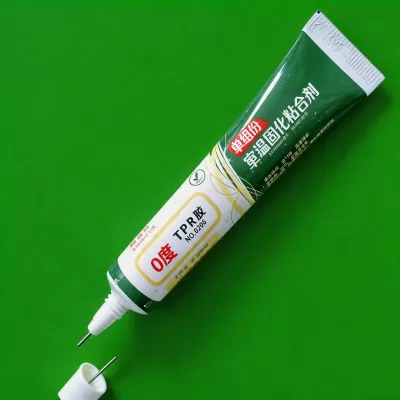
- TPR glue, such as our SM-5110B 0-Degree TPR Ball Glue (120ml) or the smaller 20ml TPR Repair Glue
- Paper towel or a soft cloth
- A small piece of plastic wrap
- A clean, flat spot where the squishy can rest while it cures
Watch: Replacing a Ball Skin and Sealing It with TPR Glue
In this short video, we give a squishy a brand-new ball skin and seal the plug with TPR glue, start to finish.
Can't see the video? Watch it on YouTube.
How to Replace a Squishy Ball Skin (Step-by-Step)
If the old skin is worn out or the plug won't stay sealed, swapping in a new skin is often easier than patching the old one. Here's the process from the video:
- Remove the old skin. Take the filling out of the old ball skin.
- Reshape the filling. Gently press the filling back into a round shape and smooth out any dents, so the new skin goes on evenly.
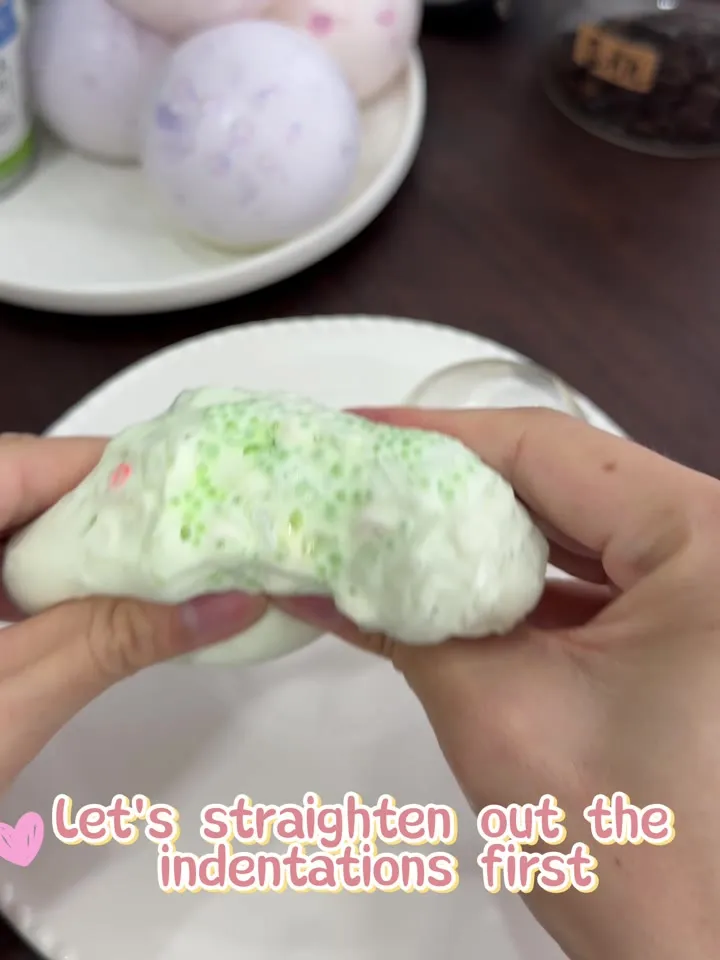
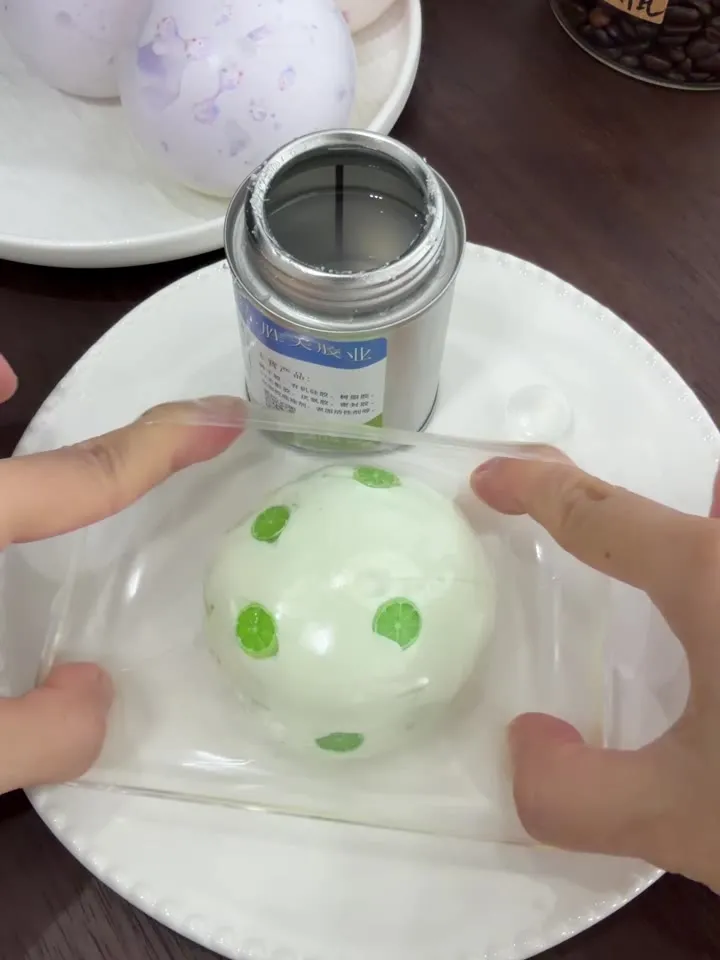
- Put on the new ball skin. Stretch the opening of a new skin and carefully work it over the filling until the filling is fully inside.
- Soak the plug in glue. Dip the plug so it's completely coated in glue. A partly coated plug is the most common reason a seal doesn't hold.
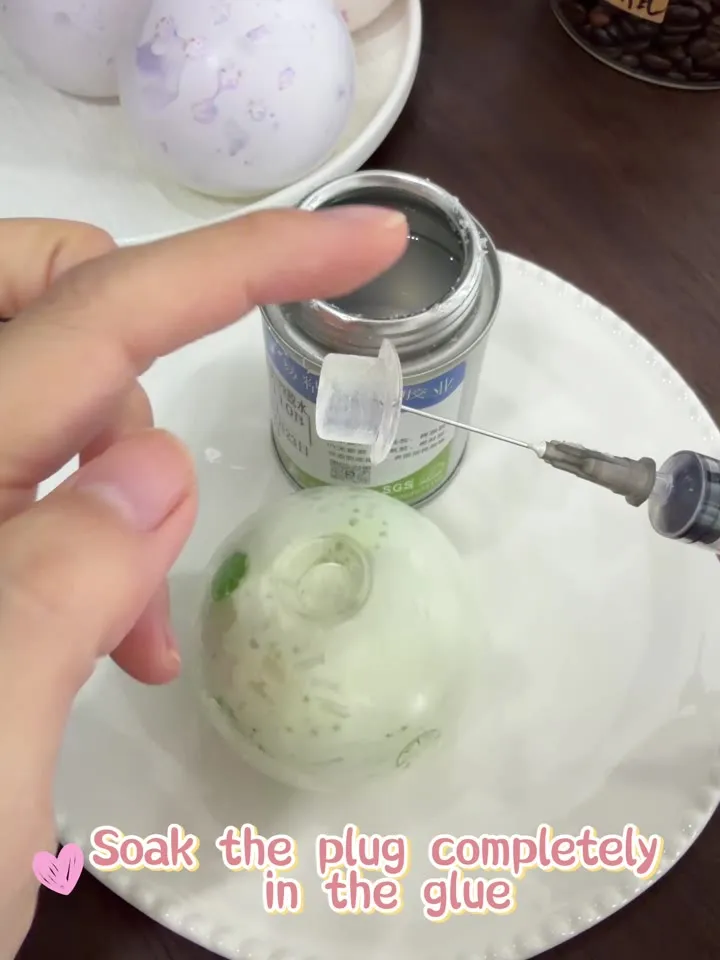
- Use a tool to handle the plug. You can hold the plug with your fingers, but a small tool such as tweezers or a blunt craft needle makes it easier to place the plug neatly and keeps your hands clean.
- Insert the plug and flatten it. Push the plug into the opening and press it down so it sits flat and flush with the skin. Take your time here, because a flat, even fit is what makes the seal last.
- Wrap it. Cover the plug area with plastic wrap to help hold the plug in place while the glue sets.
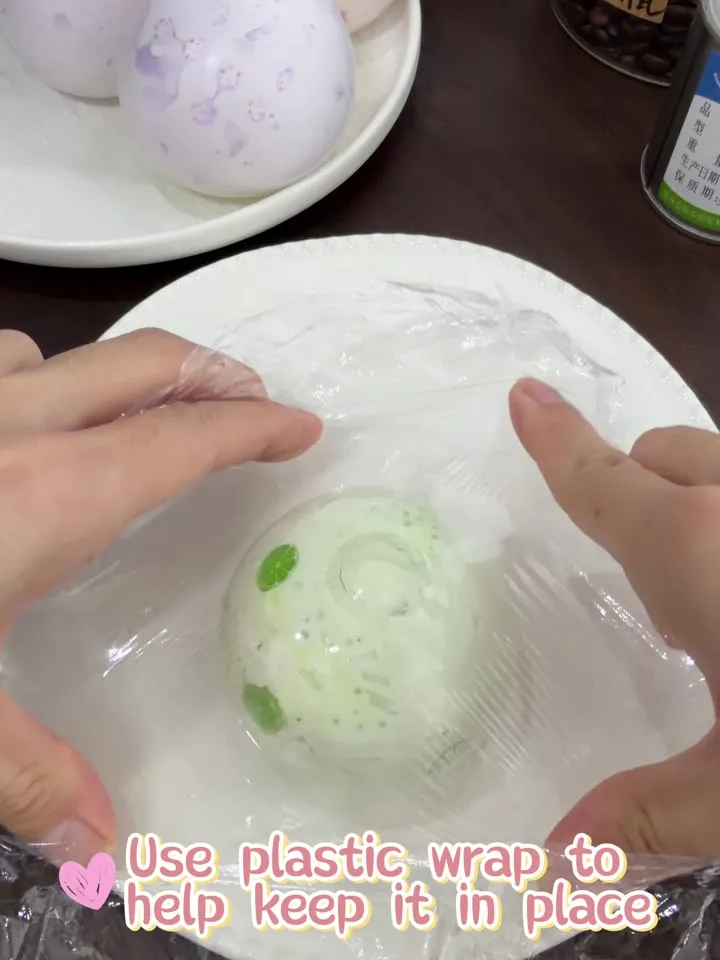
- Let it cure completely. Leave the squishy undisturbed. The surface dries in minutes, but wait 24–48 hours before squeezing.
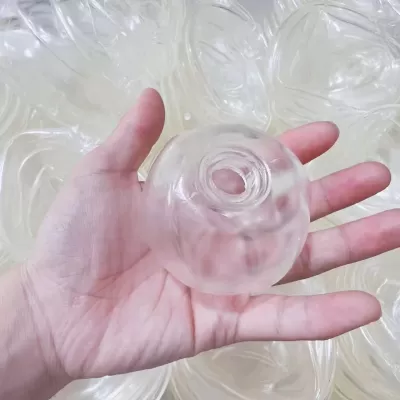
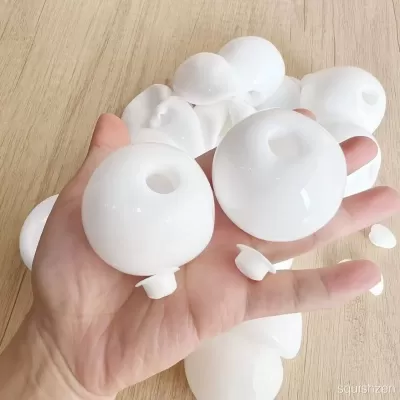
Need a replacement skin? Try our Clear Stress Ball Skin Pack of 10 with Stopper (6cm) or the White Stress Ball Skin Pack of 10 (5.5cm). Each skin comes with a matching stopper.
How to Fix a Leaking Plug or Seam
If the skin itself is fine and only the plug or seam is leaking:
- Clean and dry the area. Wipe away any filling, oil or dirt around the plug or seam. Glue won't stick well to a greasy or wet surface.
- Test first. Put a tiny dab of glue on a hidden spot to make sure it works with your squishy's material.
- Apply the glue. Coat the plug fully, or spread a thin, even layer along the seam.
- Press and hold. Push the plug back in, or press the seam closed, and hold it firmly for 1–2 minutes.
- Cover and let it cure. Cover the area with plastic wrap and leave it undisturbed for 24–48 hours before squeezing.
Sealing a DIY Squishy You Filled Yourself
Making your own squishy from a blank skin? Fill the skin, wipe the opening clean so no filling is left on the rim, then seal it the same way: soak the plug in glue, insert and flatten it, wrap it and let it cure.
Tips for a Better Seal
- Less is more. A thin layer cures more evenly than a thick blob.
- Be patient. Squeezing too early is the most common reason a repair fails.
- Store the glue properly. Close the bottle tightly and keep it in a cool, dry place away from direct sunlight.
- Keep it away from kids. Glue should be used by adults or with adult supervision.
FAQ
Can I use super glue on a squishy?
We don't recommend it. Super glue dries hard, so the seal tends to crack as soon as the squishy is squeezed. A soft TPR glue stays flexible after it cures.
How long before I can squeeze my squishy again?
The surface dries within minutes, but wait 24–48 hours for the glue to fully cure before squeezing.
Which size should I get?
The 20ml bottle is handy for an occasional repair. If you make DIY squishies or seal lots of plugs, the 120ml bottle lasts much longer.
Will it work on store-bought squishy balls?
Many squishy stress balls are made from TPR, but materials vary by brand. Always test a small hidden spot first.
My squishy has a hole in the side. Can I glue it?
Usually not. Damage on the thin outer surface is hard to seal, and gluing it can make the hole bigger. In that case, moving the filling into a new ball skin is usually the better fix.
Why won't my plug stay sealed?
The most common reasons are a plug that wasn't fully coated in glue, a plug that isn't sitting flat, or squeezing the squishy before the glue has cured. Coat the plug completely, press it flush and give it 24–48 hours.